Vroomaloom Zoom!
Zooming to
impossible places is fun! The next time
you are on a long drive with your family, imagine what it would be like to just
take off the road and make your own way.
In our
family, our middle child was a really late talker. We used this book, and others like it, to
help him try and say new words. He would
try and mimic the silly sounds. We also
used a lot of signs to communicate. He
loved to pretend to drive and tell with his hands where he was going. He had a lot of stories to tell, even if they
weren’t in words.
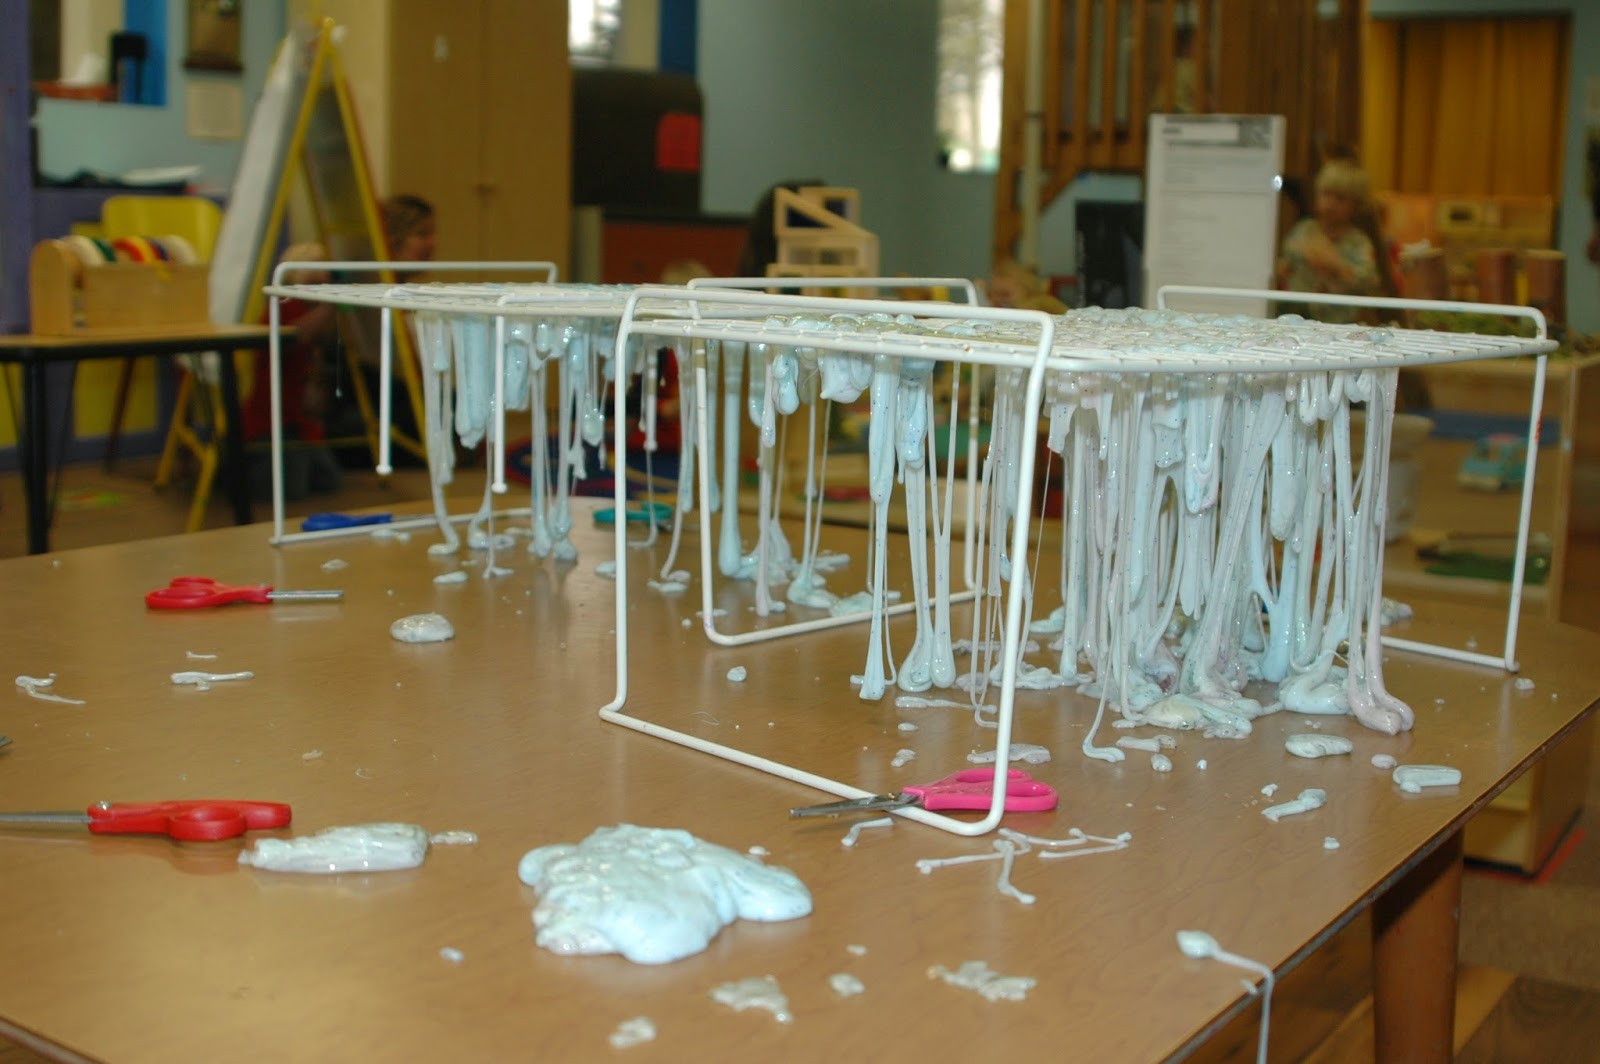
Snow on the Road!
Cornstarch + shaving cream =

Maps and Roads
Use your
imagination and anything you have to make a road or map with your child.
With a pen
and a piece of paper (or even a napkin), suddenly the restaurant table becomes
a magic land to explore. If you don’t
have a matchbox car in your pocket, try the salt shaker! Walk through the pathway in the woods with
your fingers and see what you can find.
With a roll
of masking tape, the floor becomes a parking lot, an airport runway, a
zoo. Add a box and you have the garage,
the hangar, or animal hospital. Go
ahead, use the whole roll and make the road go around the room, down the
hall. Peel up your tape and make a huge
ball. Do you have a dump truck to take
that to the dump? If you splurge on a
roll of blue or green tape, you can leave it on your floor longer.
Tape on the
floor is fun for indoor hopscotch and obstacle courses too. Make a number line on your floor and jump
from number to number. Can you skip
count? Jump on even numbers. Can you go backwards?
What’s down the road next week?
It’s our last week of Winter Session!
Talk to Jamie about registering for our Spring Session starting April
Monday: We’ll clean up early and head to the gym
Wednesday: 9 am Special Story Time with Nicki Lutsock-Hardee from the McMinnville Public Library. Followed by a second special visitor! (No story after clean up)
Friday:
Our last day! Bring your favorite
work back to the classroom for me to hang up for our art show/open house!